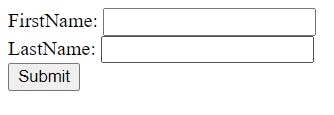
Hi, we are going to talk about the HTML5 Input element. The input element is a type of Form element that allows a user to enter data within a form. Here is an example of Input elements used within a form:
<form action="/process.php">
      <div>
        <label for="firstname">FirstName: </label>
        <input type="text" id="firstname" name="firstname">
      </div>
      <div>
        <label for="lastname">LastName: </label>
        <input type="text" id="lastname" name="lastname">
      </div>
      <div>
        <input type="submit" value="Submit">
      </div>
  </form>
This is a Form with 3 Input fields, of which one is a submit button:
The Input element is defined by it's type attribute, which specifies the type of Input element to display. There are several types of Input elements as defined by their specific attributes. This is a list of the important Input types:
- Text
- Password
- Tel
- Checkbox
- Radio
- File
- Hidden
- Button
- Submit
- Reset
- Search
- Number
- Range
- Url
- Color
- Image
- Date
- Datetime-local
- Time
- Week
- Month
#1. Text
<input type="text">
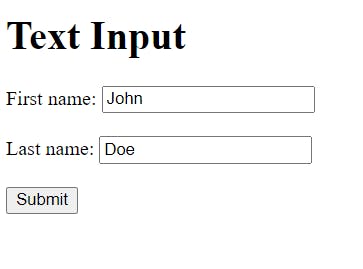
The Text Input defines a single-line text field, with the default width of 20 characters for the text field.
<h1>Text Input</h1>
<form action="/process.php">
  <label for="fname">First name: </label>
  <input type="text" id="fname" name="fname"><br><br>
  <label for="lname">Last name: </label>
  <input type="text" id="lname" name="lname"><br><br>
  <input type="submit" value="Submit">
</form>
#2. Password
<input type="password">
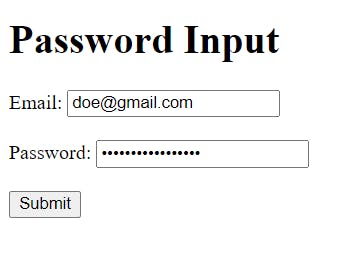
The password Input masks all characters that are entered as a way of providing additional password security from preying eyes.
<h1>Password Input</h1>
<form action="/process.php">
  <label for="email">Email:</label>
  <input type="email" id="email" name="email"><br><br>
  <label for="pwd">Password:</label>
  <input type="password" id="pwd" name="pwd" minlength="6"><br><br>
  <input type="submit">
</form>
#3. Email
<input type="email">
The Email Input defines a field for an email address, and the value is validated to ensure it is properly formatted as an email address. This email input below allows only one email address to be sent:
<h1>Email Input</h1>
<form action="/process.php">
  <label for="email">Enter your email:</label>
  <input type="email" id="email" name="email">
  <input type="submit">
</form>

But, this example below allows multiple email addresses to be sent:
<h1>Email Input(multiple)</h1>
<form action="/process.php">
  <label for="emails">Enter email addresses:</label>
  <input type="email" id="emails" name="emails" multiple>
  <input type="submit">
</form>

#4. Tel
<input type="tel">
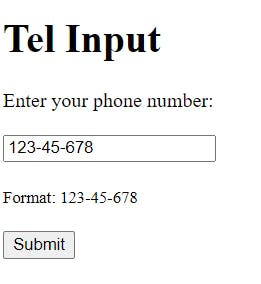
The field for entering a phone number is defined by the tel Input.
<h1>Tel Input</h1>
<form action="/process.php">
  <label for="phone">Enter your phone number:</label><br><br>
  <input type="tel" id="phone" name="phone" placeholder="123-45-678" pattern="[0-9]{3}-[0-9]{2}-[0-9]{3}" required><br><br>
  <small>Format: 123-45-678</small><br><br>
  <input type="submit">
</form>
#5. Checkbox
<input type="checkbox">
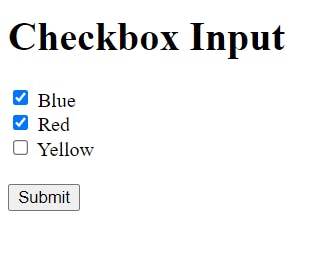
Checkboxes allow a user to pick one or more alternatives from a restricted set of possibilities.
<h1>Checkbox Input</h1>
<form action="/process.php">
  <input type="checkbox" id="vehicle1" name="vehicle1" value="Bike">
  <label for="vehicle1"> Blue</label><br>
  <input type="checkbox" id="vehicle2" name="vehicle2" value="Car">
  <label for="vehicle2"> Red</label><br>
  <input type="checkbox" id="vehicle3" name="vehicle3" value="Boat">
  <label for="vehicle3"> Yellow</label><br><br>
  <input type="submit" value="Submit">
</form>
#6. Radio
<input type="radio">
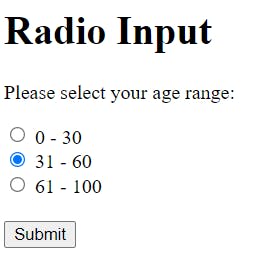
Radio Inputs are provided in radio groups where only one radio button may be selected at a time.
<h1>Radio Input</h1>
<form action="/process.php">
  <p>Please select your age range:</p>
  <input type="radio" id="age1" name="age" value="30">
  <label for="age1">0 - 30</label><br>
  <input type="radio" id="age2" name="age" value="60">
  <label for="age2">31 - 60</label><br>
  <input type="radio" id="age3" name="age" value="100">
  <label for="age3">61 - 100</label><br><br>
  <input type="submit" value="Submit">
</form>
#7. File
<input type="file">
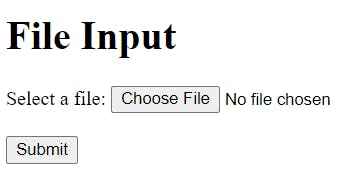
For file uploads, File Input defines a file-select field and a "Browse" button.
<h1>File Input</h1>
<form action="/process.php">
  <label for="myfile">Select a file:</label>
  <input type="file" id="myfile" name="myfile"><br><br>
  <input type="submit">
</form>
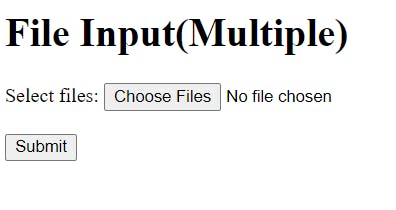
For multiple file uploads, we would add the multiple attribute:
<h1>File Input(Multiple)</h1>
<form action="/process.php">
  <label for="myfile">Select files:</label>
  <input type="file" id="myfile" name="myfile" multiple><br><br>
  <input type="submit">
</form>
#8. Hidden
<input type="hidden">
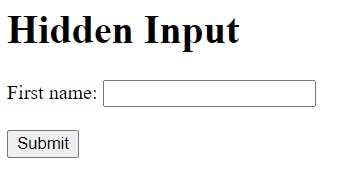
When a form is submitted, a hidden field allows web developers to enter data that users cannot view or change. Although the data in the hidden field is not visible to the user, it is transmitted when the form is submitted. It is frequently used to contain the database record that has to be changed.
<h1>Hidden Input</h1>
<form action="/process.php">
  <label for="fname">First name:</label>
  <input type="text" id="fname" name="fname"><br><br>
  <input type="hidden" id="custId" name="custId" value="348">
  <input type="submit" value="Submit">
</form>
#9. Button
<input type="button">
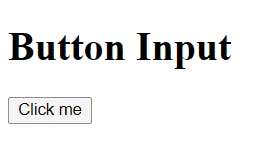
A clickable button is defined by the Button Input which mostly activates a JavaScript or php code when it is clicked.
<h1>Button Input</h1>
<form>
  <input type="button" value="Click me" onclick="msg()">
</form>

<script>
function msg() {
  alert("Hello people!");
}
</script>
#10. Submit
<input type="submit">
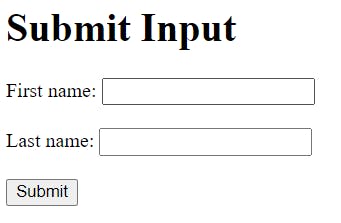
The submit Input specifies a button that sends all form data to a form handler. In most cases, the form-handler is a server page containing a script for processing the submitted data. The form's action attribute specifies the form's handler.
In the example, the form data will be transferred to a page called process.php if you click the Submit button.
<h1>Submit Input</h1>
<form action="/process.php">
  <label for="fname">First name: </label>
  <input type="text" id="fname" name="fname"><br><br>
  <label for="lname">Last name: </label>
  <input type="text" id="lname" name="lname"><br><br>
  <input type="submit" value="Submit">
</form>
#11. Reset
<input type="reset">
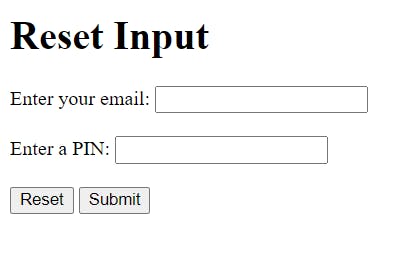
The reset button is defined by the reset input, which resets all form values to their default values.
<h1>Reset Input</h1>
<form action="/action_page.php">
  <label for="email">Enter your email:</label>
  <input type="email" id="email" name="email"><br><br>
  <label for="pin">Enter a PIN:</label>
  <input type="text" id="pin" name="pin" maxlength="4"><br><br>
  <input type="reset" value="Reset">
  <input type="submit" value="Submit">
</form>
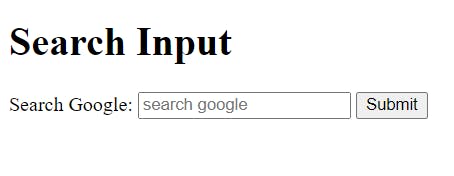
#12. Search
<input type="search">
A text box for inputting a search string is defined by the search input. If you don't give the search field a name, nothing will be sent. The parameter "q" is the most often used name for search inputs.
<h1>Search Input</h1>
<form action="/process.php">
  <label for="q">Search Google:</label>
  <input type="search" id="q" name="q" placeholder="search google">
  <input type="submit">
</form>
#13. Number
<input type="number">
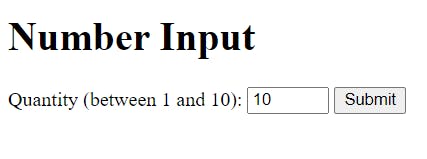
A field for entering a number is defined by the number input.
To specify constraints, use the following attributes:
max - defines the maximum value that can be entered.
min - defines the smallest value that can be used.
step - specifies the legal number intervals.
value - Specifies the default value.
<h1>Number Input</h1>
<form action="/process.php">
  <label for="quantity">Quantity (between 1 and 10):</label>
  <input type="number" id="quantity" name="quantity" min="1" max="10">
  <input type="submit">
</form>
#14. Range
<input type="range">
Range Input is a control that allows you to enter a number whose exact value isn't necessary, just like a slider control. The default range is 0 to 100 as seen in the example, though you can use the properties to determine the integers that are permitted.
max - specifies the maximum value allowed
min - specifies the minimum value allowed
step - specifies the legal number intervals
value - Specifies the default value
<h1>Range Input</h1>
<form action="/action_page.php">
  <label for="vol">Volume (between 0 and 100):</label>
  <input type="range" id="vol" name="vol" min="0" max="100">
  <input type="submit">
</form>

#15. Url
<input type="url">
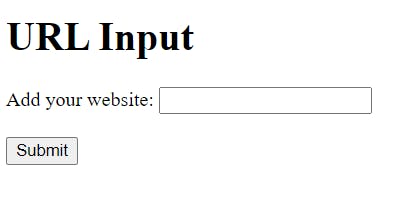
The url input specifies a field where a URL can be entered. Before the form can be submitted, the input value is automatically verified.
<h1>URL Input</h1>
<form action="/process.php">
  <label for="homepage">Add your website:</label>
  <input type="url" id="homepage" name="homepage"><br><br>
  <input type="submit">
</form>
#16. Color
<input type="color">
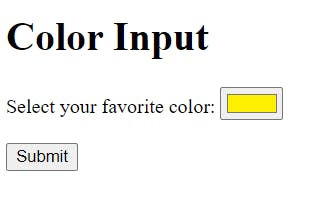
A color picker is defined by the color input. #000000 is the default value (black). The value must be written in hexadecimal format with seven characters.
<h1>Color Input</h1>
<form action="/process.php">
  <label for="favcolor">Select your favorite color:</label>
  <input type="color" id="favcolor" name="favcolor" value="#fff000"><br><br>
  <input type="submit">
</form>
#17. Image
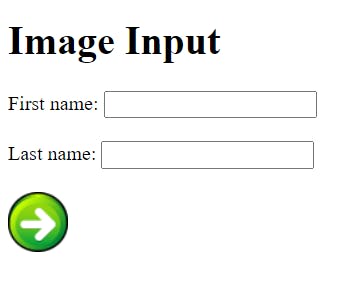
<input type="image">
An image is defined as a submit button by the image input. The src property specifies the image's location. The X and Y coordinates of the click that activated the image button are sent via the image input.
<h1>Image Input</h1>
<form action="/process.php">
  <label for="fname">First name: </label>
  <input type="text" id="fname" name="fname"><br><br>
  <label for="lname">Last name: </label>
  <input type="text" id="lname" name="lname"><br><br>
  <input type="image" src="img_submit.gif" alt="Submit" width="48" height="48">
</form>
#18. Date
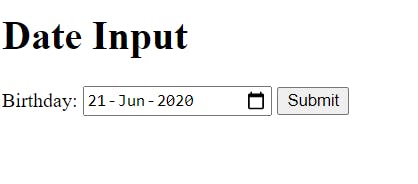
<input type="date">
The date input defines a date picker. The resulting value includes the year, month, and day (no Time is included).
<h1>Date Input</h1>
<form action="/process.php">
  <label for="birthday">Birthday:</label>
  <input type="date" id="birthday" name="birthday">
  <input type="submit">
</form>
#19. Datetime-local
<input type="datetime-local">
The datetime-local input defines a date picker. The resulting value includes the year, month, day, and time.
<h1>Datetime-local Input</h1>
<form action="/process.php">
  <label for="birthdaytime">Birthday (date and time):</label>
  <input type="datetime-local" id="birthdaytime" name="birthdaytime">
  <input type="submit">
</form>

#20. Time
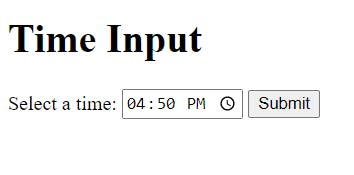
<input type="time">
The Time input defines a control for entering a time (no time zone).
<h1>Time Input</h1>
<form action="/process.php">
  <label for="appt">Select a time:</label>
  <input type="time" id="appt" name="appt">
  <input type="submit">
</form>
#21. Week
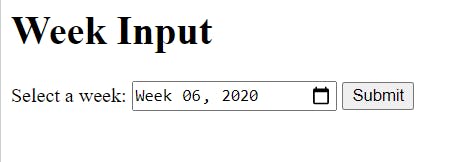
<input type="week">
The week input defines a week and year control (no time zone).
<h1>Week Input</h1>
<form action="/process.php">
  <label for="week">Select a week:</label>
  <input type="week" id="week" name="week">
  <input type="submit">
</form>
#22. Month
<input type="month">
The month input defines a month and year control. The format is "YYYY-MM".
<h1>Month Input</h1>
<form action="/process.php">
  <label for="bdaymonth">Birthday (month and year):</label>
  <input type="month" id="bdaymonth" name="bdaymonth">
  <input type="submit">
</form>

Conclusion:
As you can see, the Input element has a lot of importance when building an application that will require you to enter data on the interface. It is worth learning how to create input fields along with the attributes and properties that define them.
#End
Hope you enjoyed this! :) Follow me for more contents...
Get in Touch:
ifeanyiomeata.com
contact@ifeanyiomeata.com
Youtube: youtube.com/c/IfeanyiOmeata
Linkedin: linkedin.com/in/omeatai
Twitter: twitter.com/iomeata
Github: github.com/omeatai
Stackoverflow: stackoverflow.com/users/2689166/omeatai
Hashnode: hashnode.com/@omeatai
Medium: medium.com/@omeatai
© 2021

